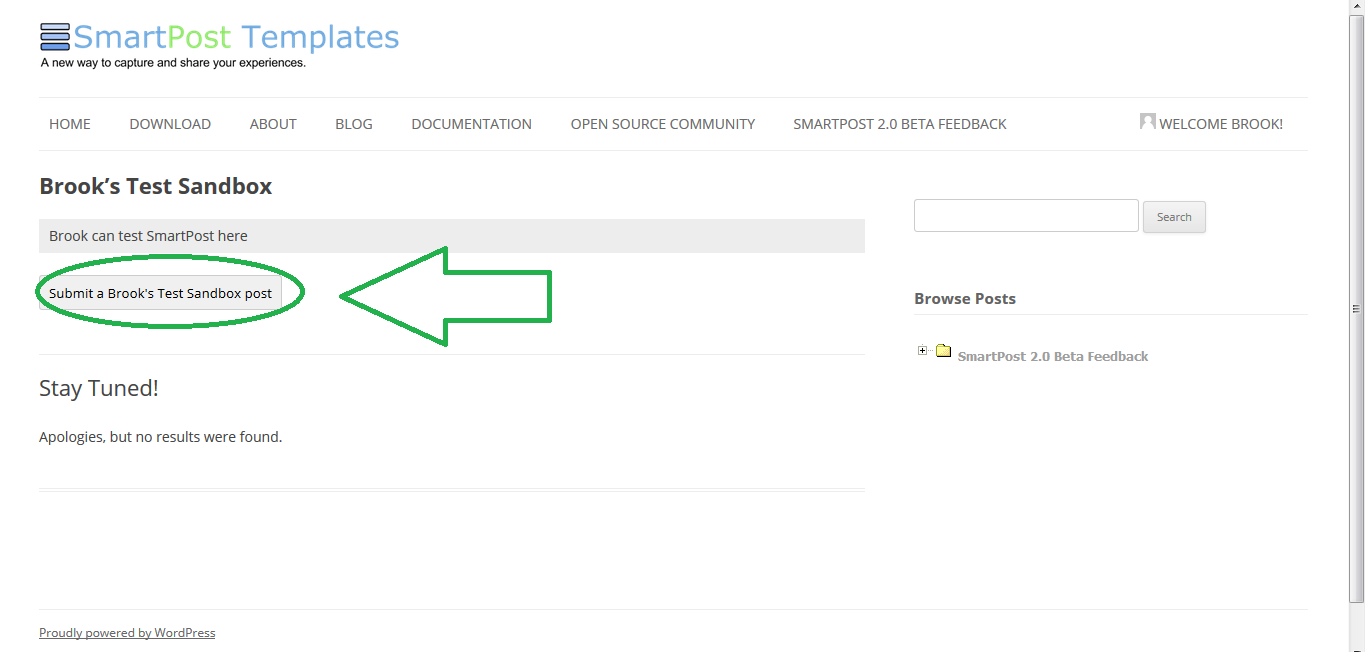
Step 1
The First thing that makes SmartPost so easy to use is the ability to create, edit, publish, and preview your posts from the front end of your site. On a page which has been SmartPost enabled, you should see a “Submit a [title] post” button. By clicking this button you create a new instance of a SmartPost post.
Step 2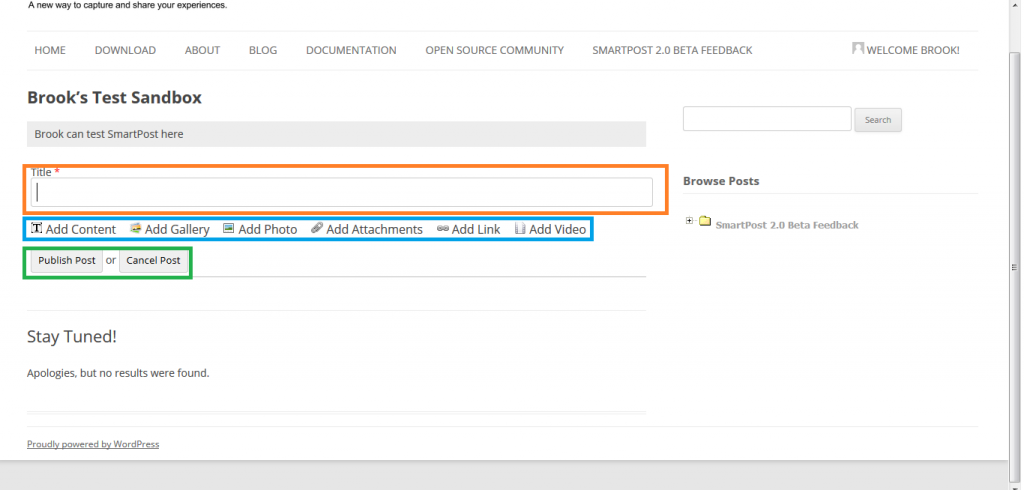
Once active, you should see something similar to the following. The first box starting from the top, highlighted here in orange, shows the title block. This block is default in every SmartPost post. Here you can edit the title of your post. The second box, highlighted here in blue, shows the addable components to your post. The third box, highlighted here in green, contains the “publish post”, and “cancel post” buttons. The “publish post” button instantly publishes your post. The “cancel post” button will cancel your current post and delete all your work. If you leave without cancelling, the post will be saved as a draft.

Step 3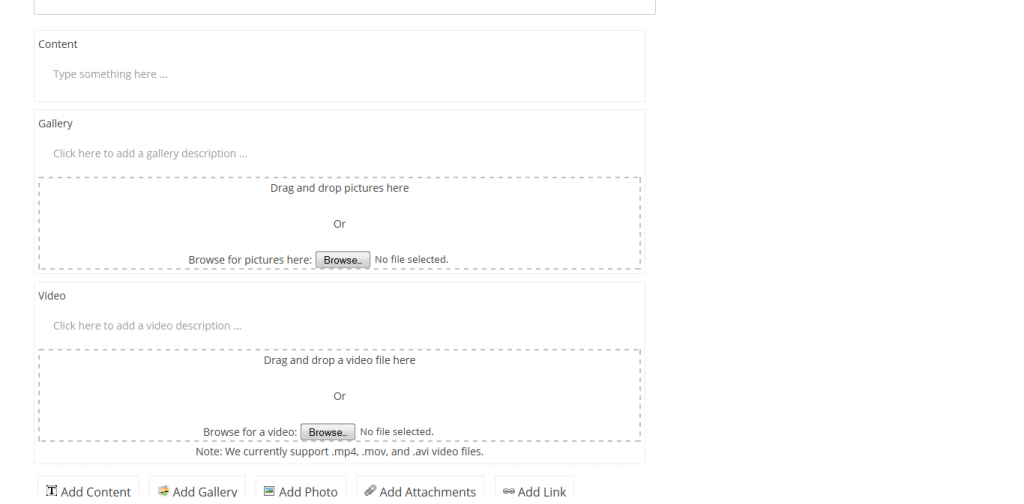
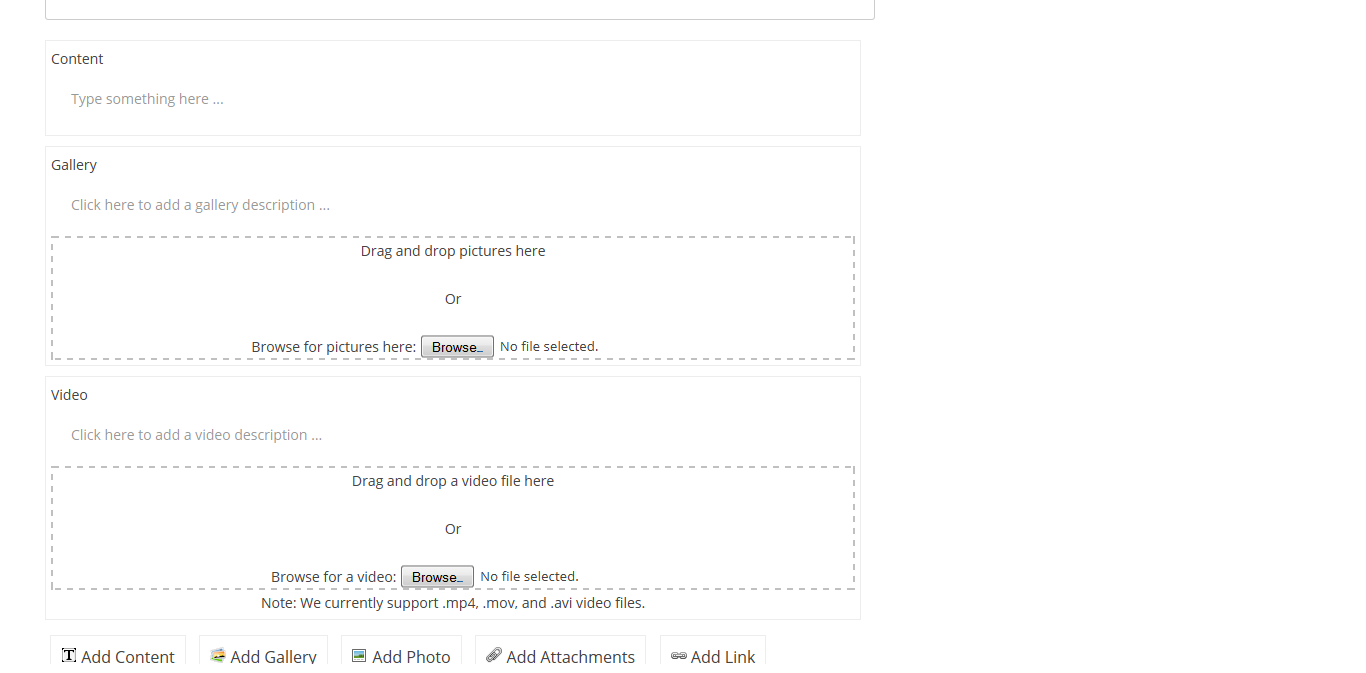
Here is an example of multiple components in ensemble.
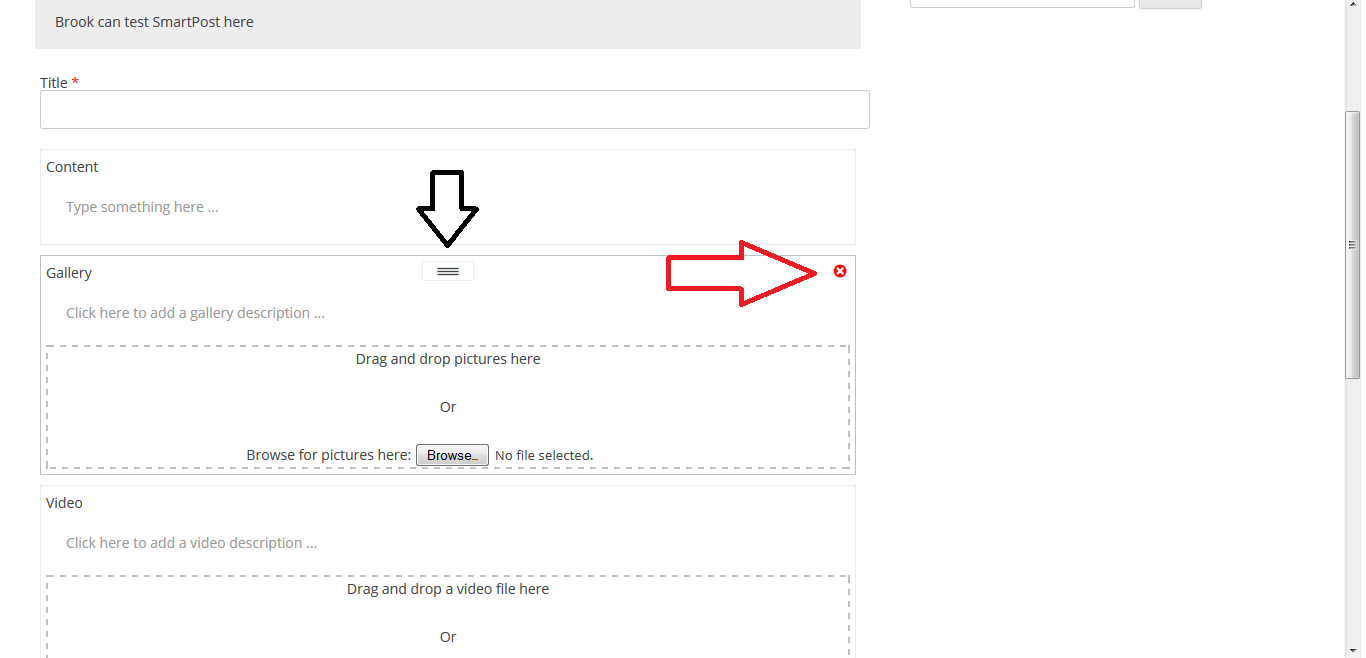
Step 4
There are two basic features you should be aware of in each component. Each component has a black tab, and a red “x” button as indicated below. The tab allows you to reposition your components as desired, it is indicated by the black arrows. The red “x” button allows you to delete components, it is indicated by the red arrow.